USB midi controller
by QC
Posted on Wed, December 29, 2021 - 12:57:57 PM
midi arduino lasercut 3D printing
Motivation
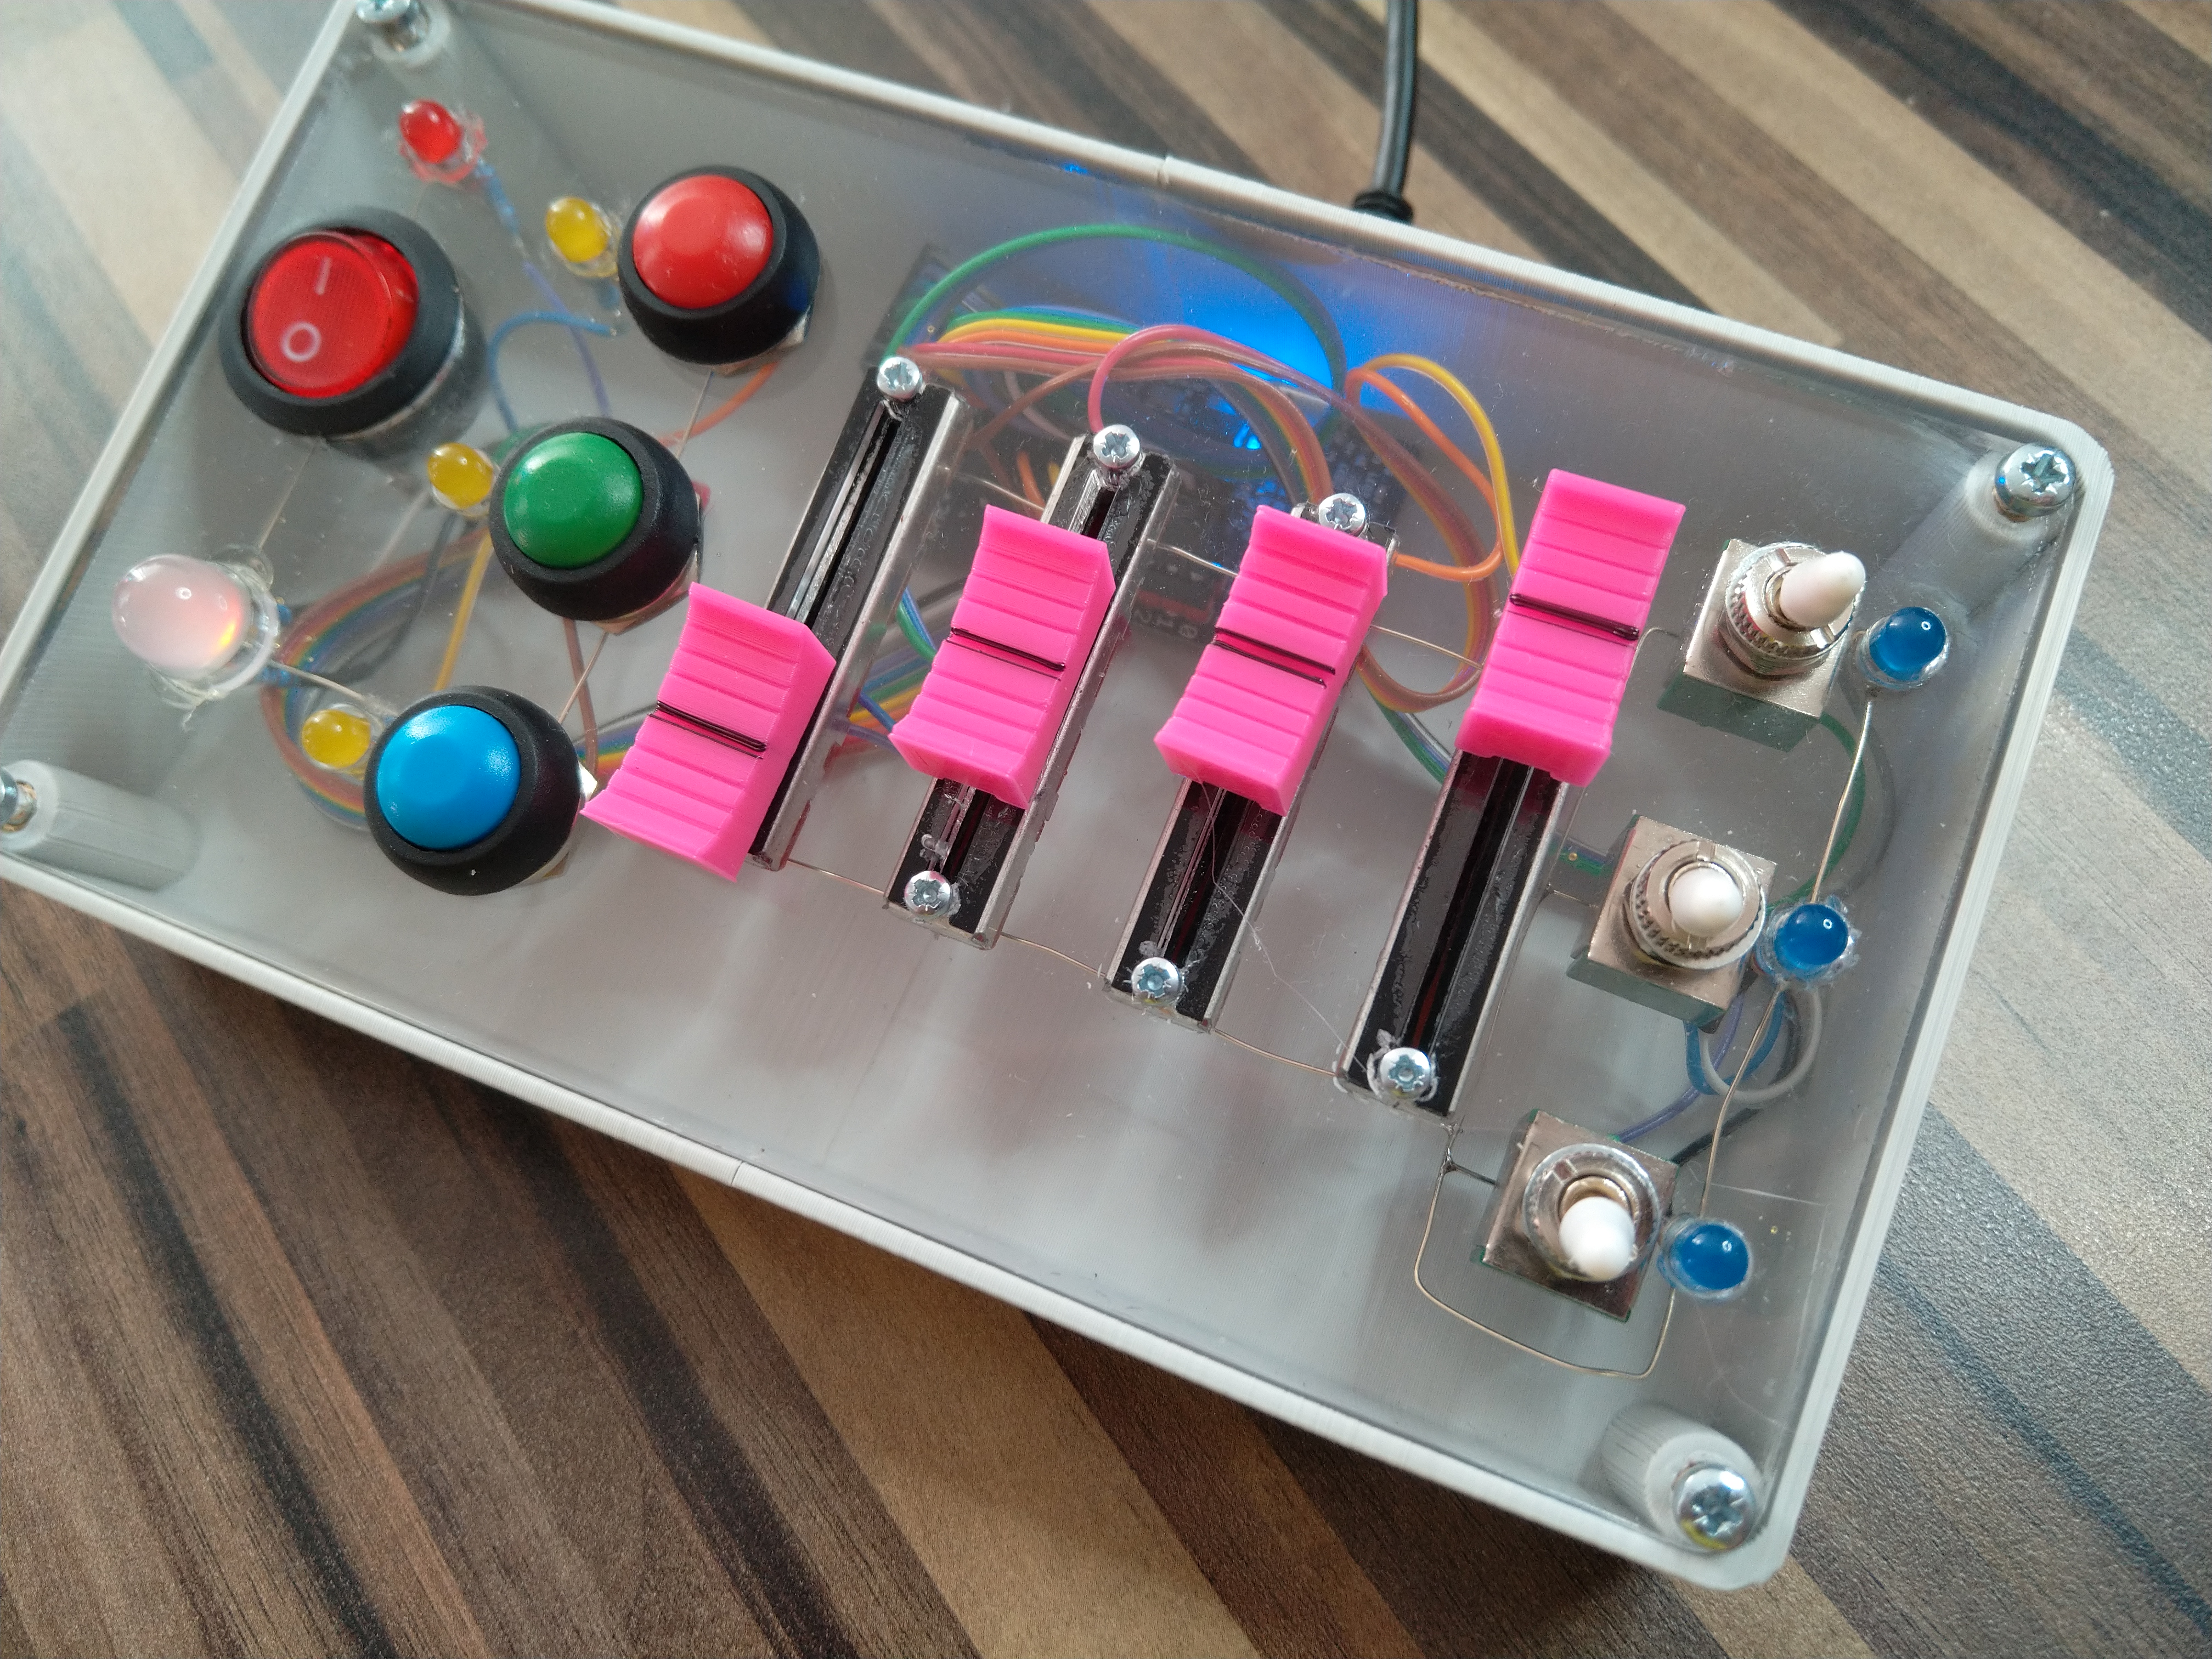
I have been browsing the net for an easy to use USB Midi controller which can be used with my mixing software Mixxx to be able to mix podcasts on the go. Initially I wanted to buy an off the shelf product from Korg, the Nanokontrol 2, but they raised their prices to 69€. That's honestly not a lot for a product this powerful, but what if I tell you that I can make it at home for less? Let's say 54€ less? Yes, I paid 15€ for the stuff (without the Arduino clone i already had). All the files are open source and uploaded to a github repository.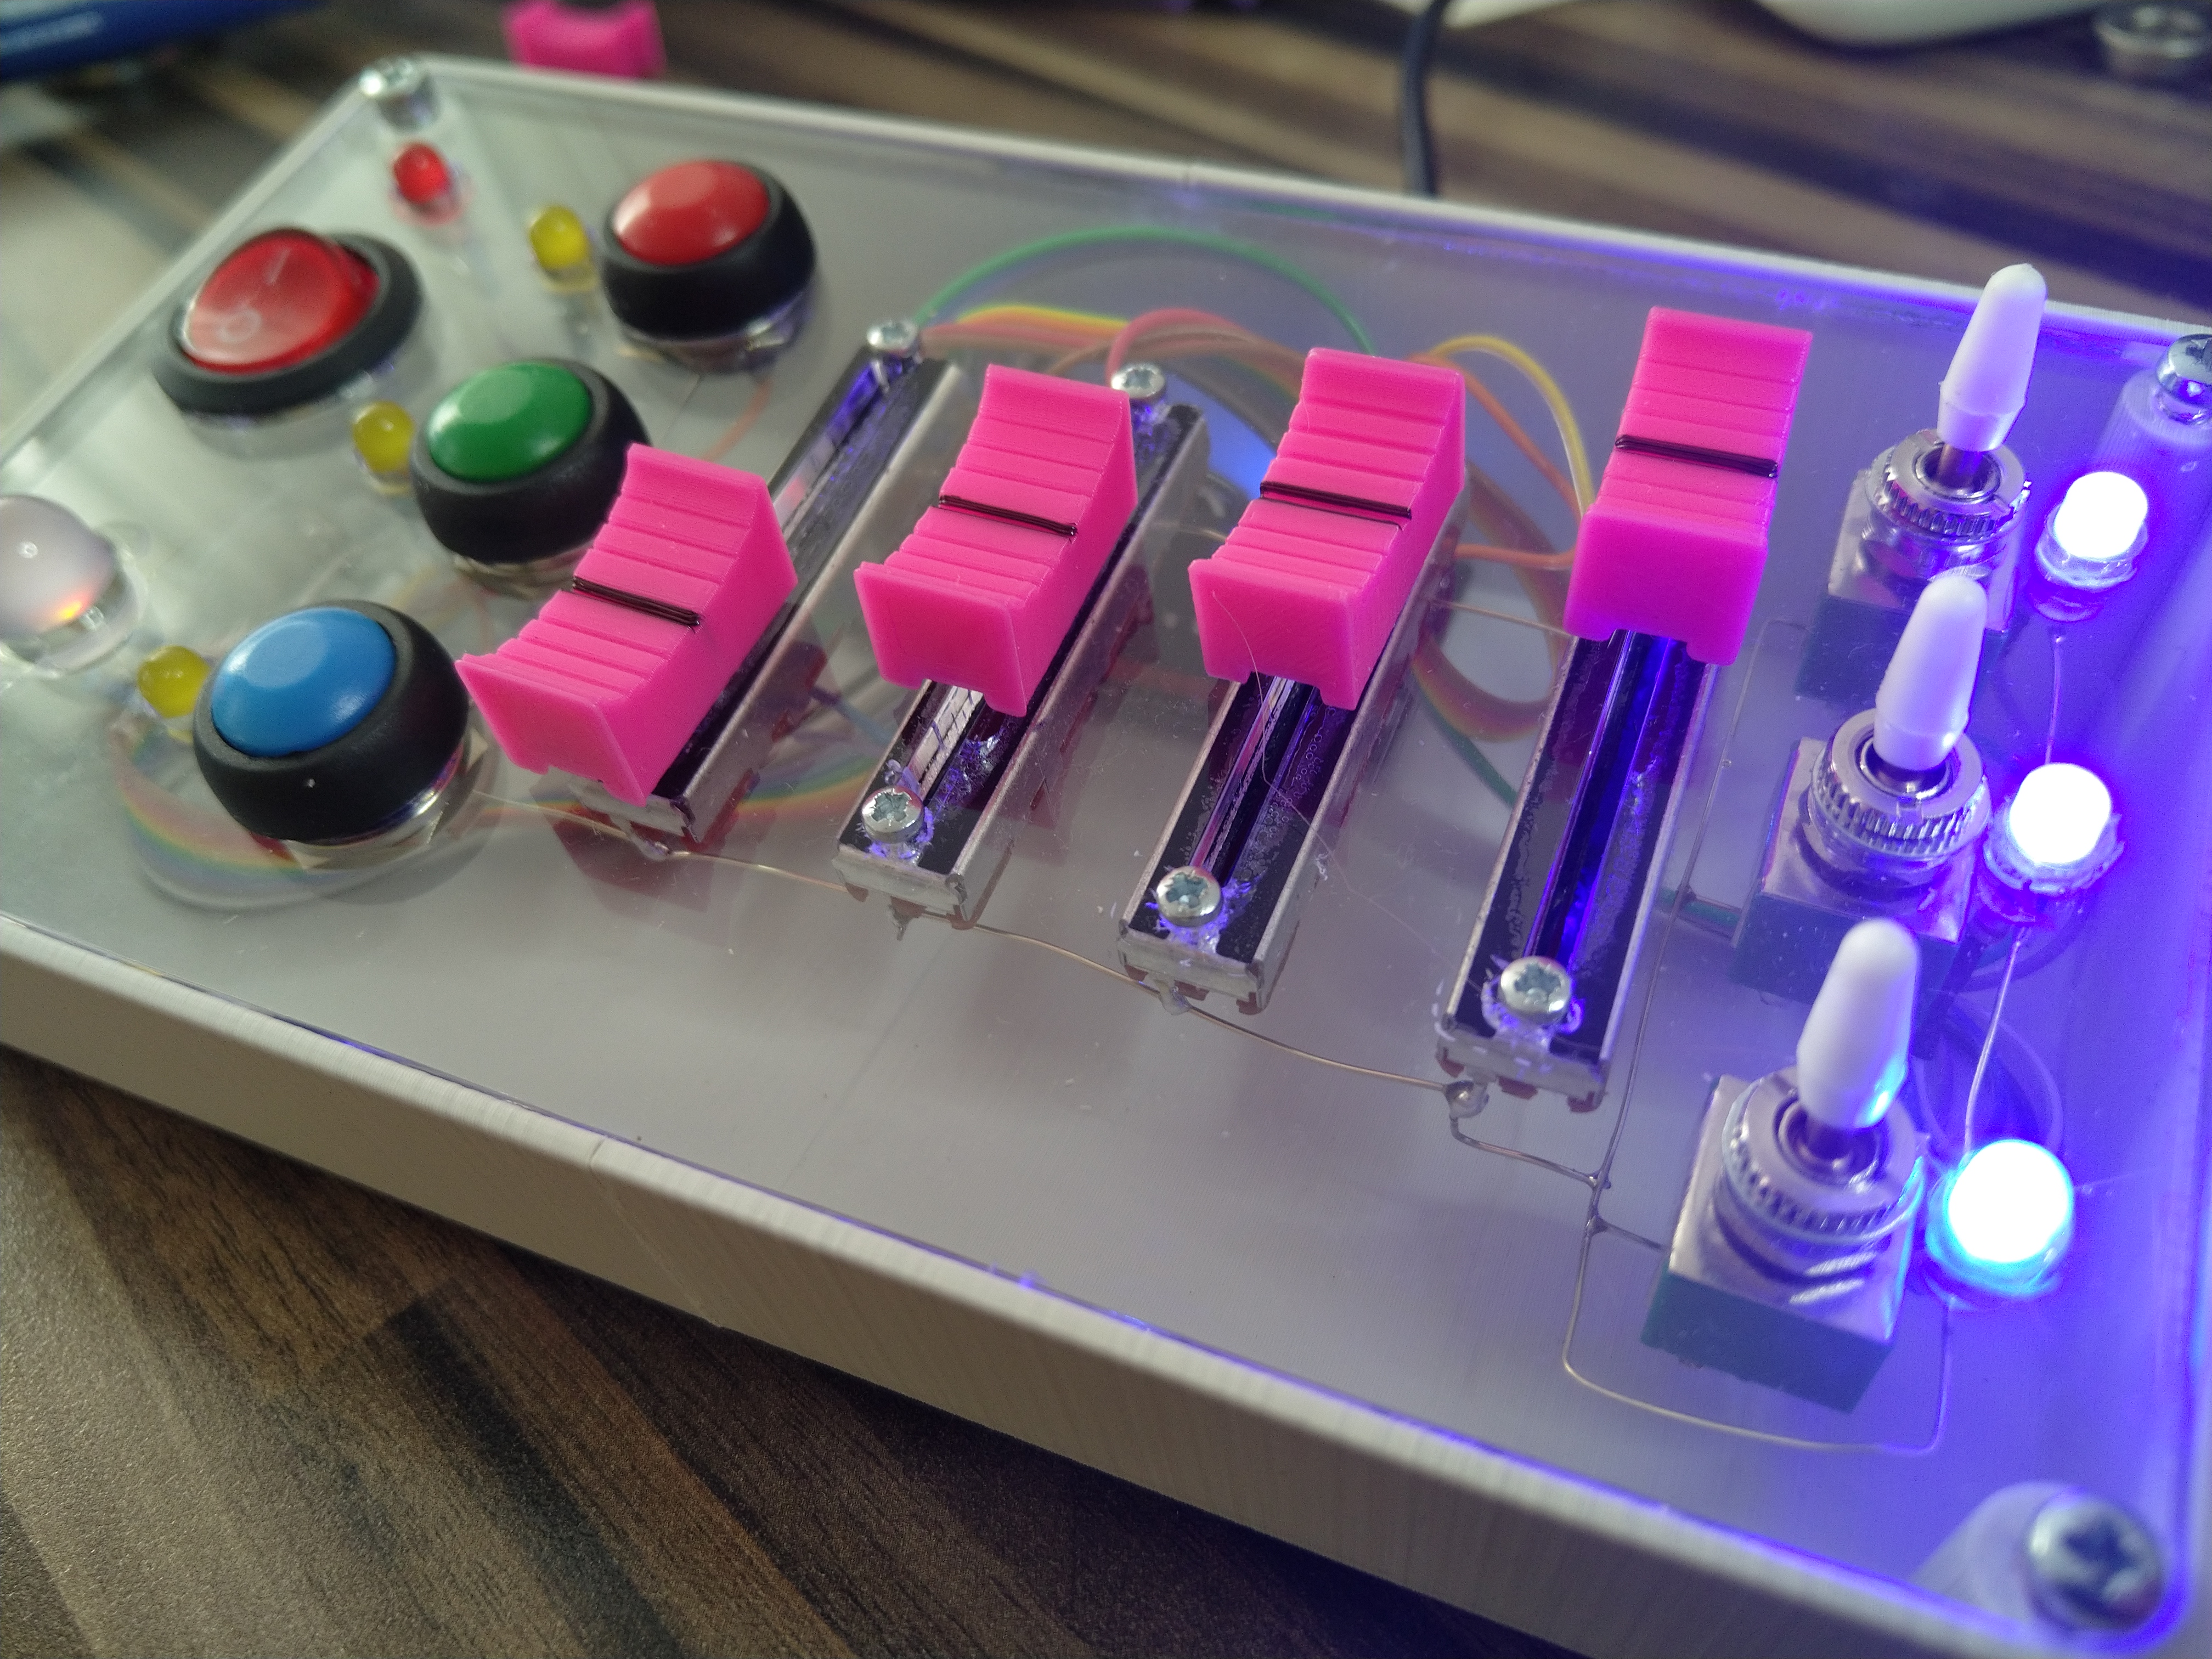 Finished fader.
Specifications
The has a few interesting features, mainly that it can easily be programmed in the Arduino IDE. The LEDs are all separately addressable, which makes them writeable via the computer interface. All switches including the big red one are also connected to the Breadboard Arduino clone. It doesn't need an external power supply or anything else.- 4x 30mm Slider Potentiometers with custom knobs.
- 7x individually addressable LEDs
- 1x red/green dual color 10mm LED for RX/TX
- 1x main switch, software controlled.
- 3x buttons
- 3x DPST switches
- micro USB to serial connection.
Hardware
The hardware was partly lasercut, and partly 3D printed. The lasercutter is a cheap chinese 40W one with a pair of really expensive thorlabs safety goggles. I used 4mm acrylic glas and grey PLA filament. The fader knobs are pink PLA.In total the stuff cost me around 15€, including the Arduino clone it would be around 33€.
| Name | Pcs | Price | Total | URL |
|---|---|---|---|---|
| Switch DPST | 4 | 1.29 | 5.16 | https://www.conrad.at/de/p/tru-components-kippschalter-250-v-ac-2-a-2-x-ein-ein-rastend-1-st-2304637.html |
| Switch red | 1 | 3.3 | 3.3 | https://www.ebay.at/itm/312093751996 |
| Button switch | 3 | 0.59 | 1.77 | https://www.ebay.at/itm/223587573763 |
| Slider Potentiometer | 4 | 0.89 | 3.56 | https://www.conrad.at/de/p/tru-components-f3031n-schiebe-potentiometer-10-k-mono-0-1-w-linear-1-st-1567032.html |
| LED 5mm | 7 | 0.02 | 0.14 | https://www.ebay.at/itm/124214363745 |
| LED 10mm | 1 | 1.26 | 1.26 | https://www.ebay.at/itm/323443837179 |
| Resistor 220 Ohm | 3 | 0.07 | 0.21 | https://www.ebay.at/itm/372813822157 |
| Resistor 1k Ohm | 6 | 0.07 | 0.42 | https://www.ebay.at/itm/372813822157 |
| Screw M3x20 & M3 inserts | 4 | |||
| Screw M2.5x6 | 8 | |||
| Breadboard BB UNO | 1 | 18 | 18 | https://www.tindie.com/products/petl/breadboard-arduino-uno-clone/ |
Bill of materials.
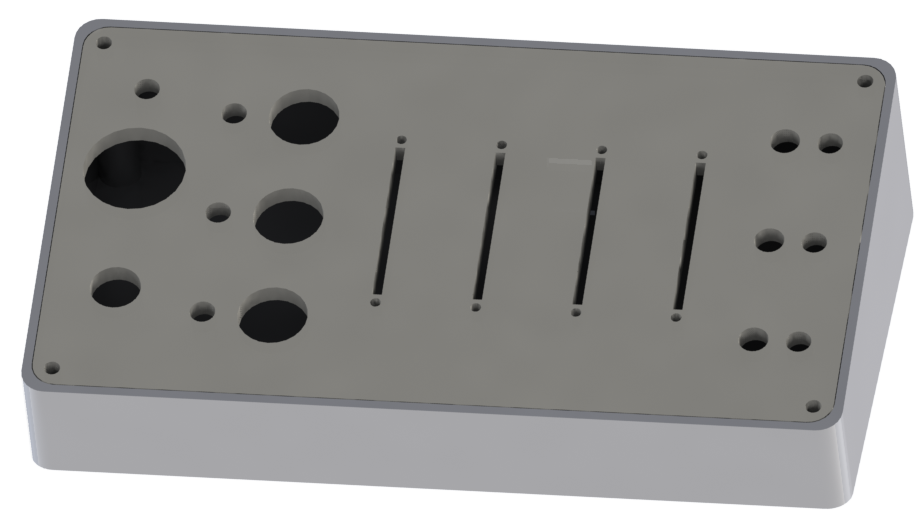 Rendering of the case and frontplate.
Frontplate:
Luckily SolidWorks can directly export to a .dxf file. This format can be read via the K40 Whisperer software and cut on the lasercutter. I avoided adding any markings on the acrylic, because it looks cleaner this way. Also I couldn't think of anything useful to add, feel free to let me know.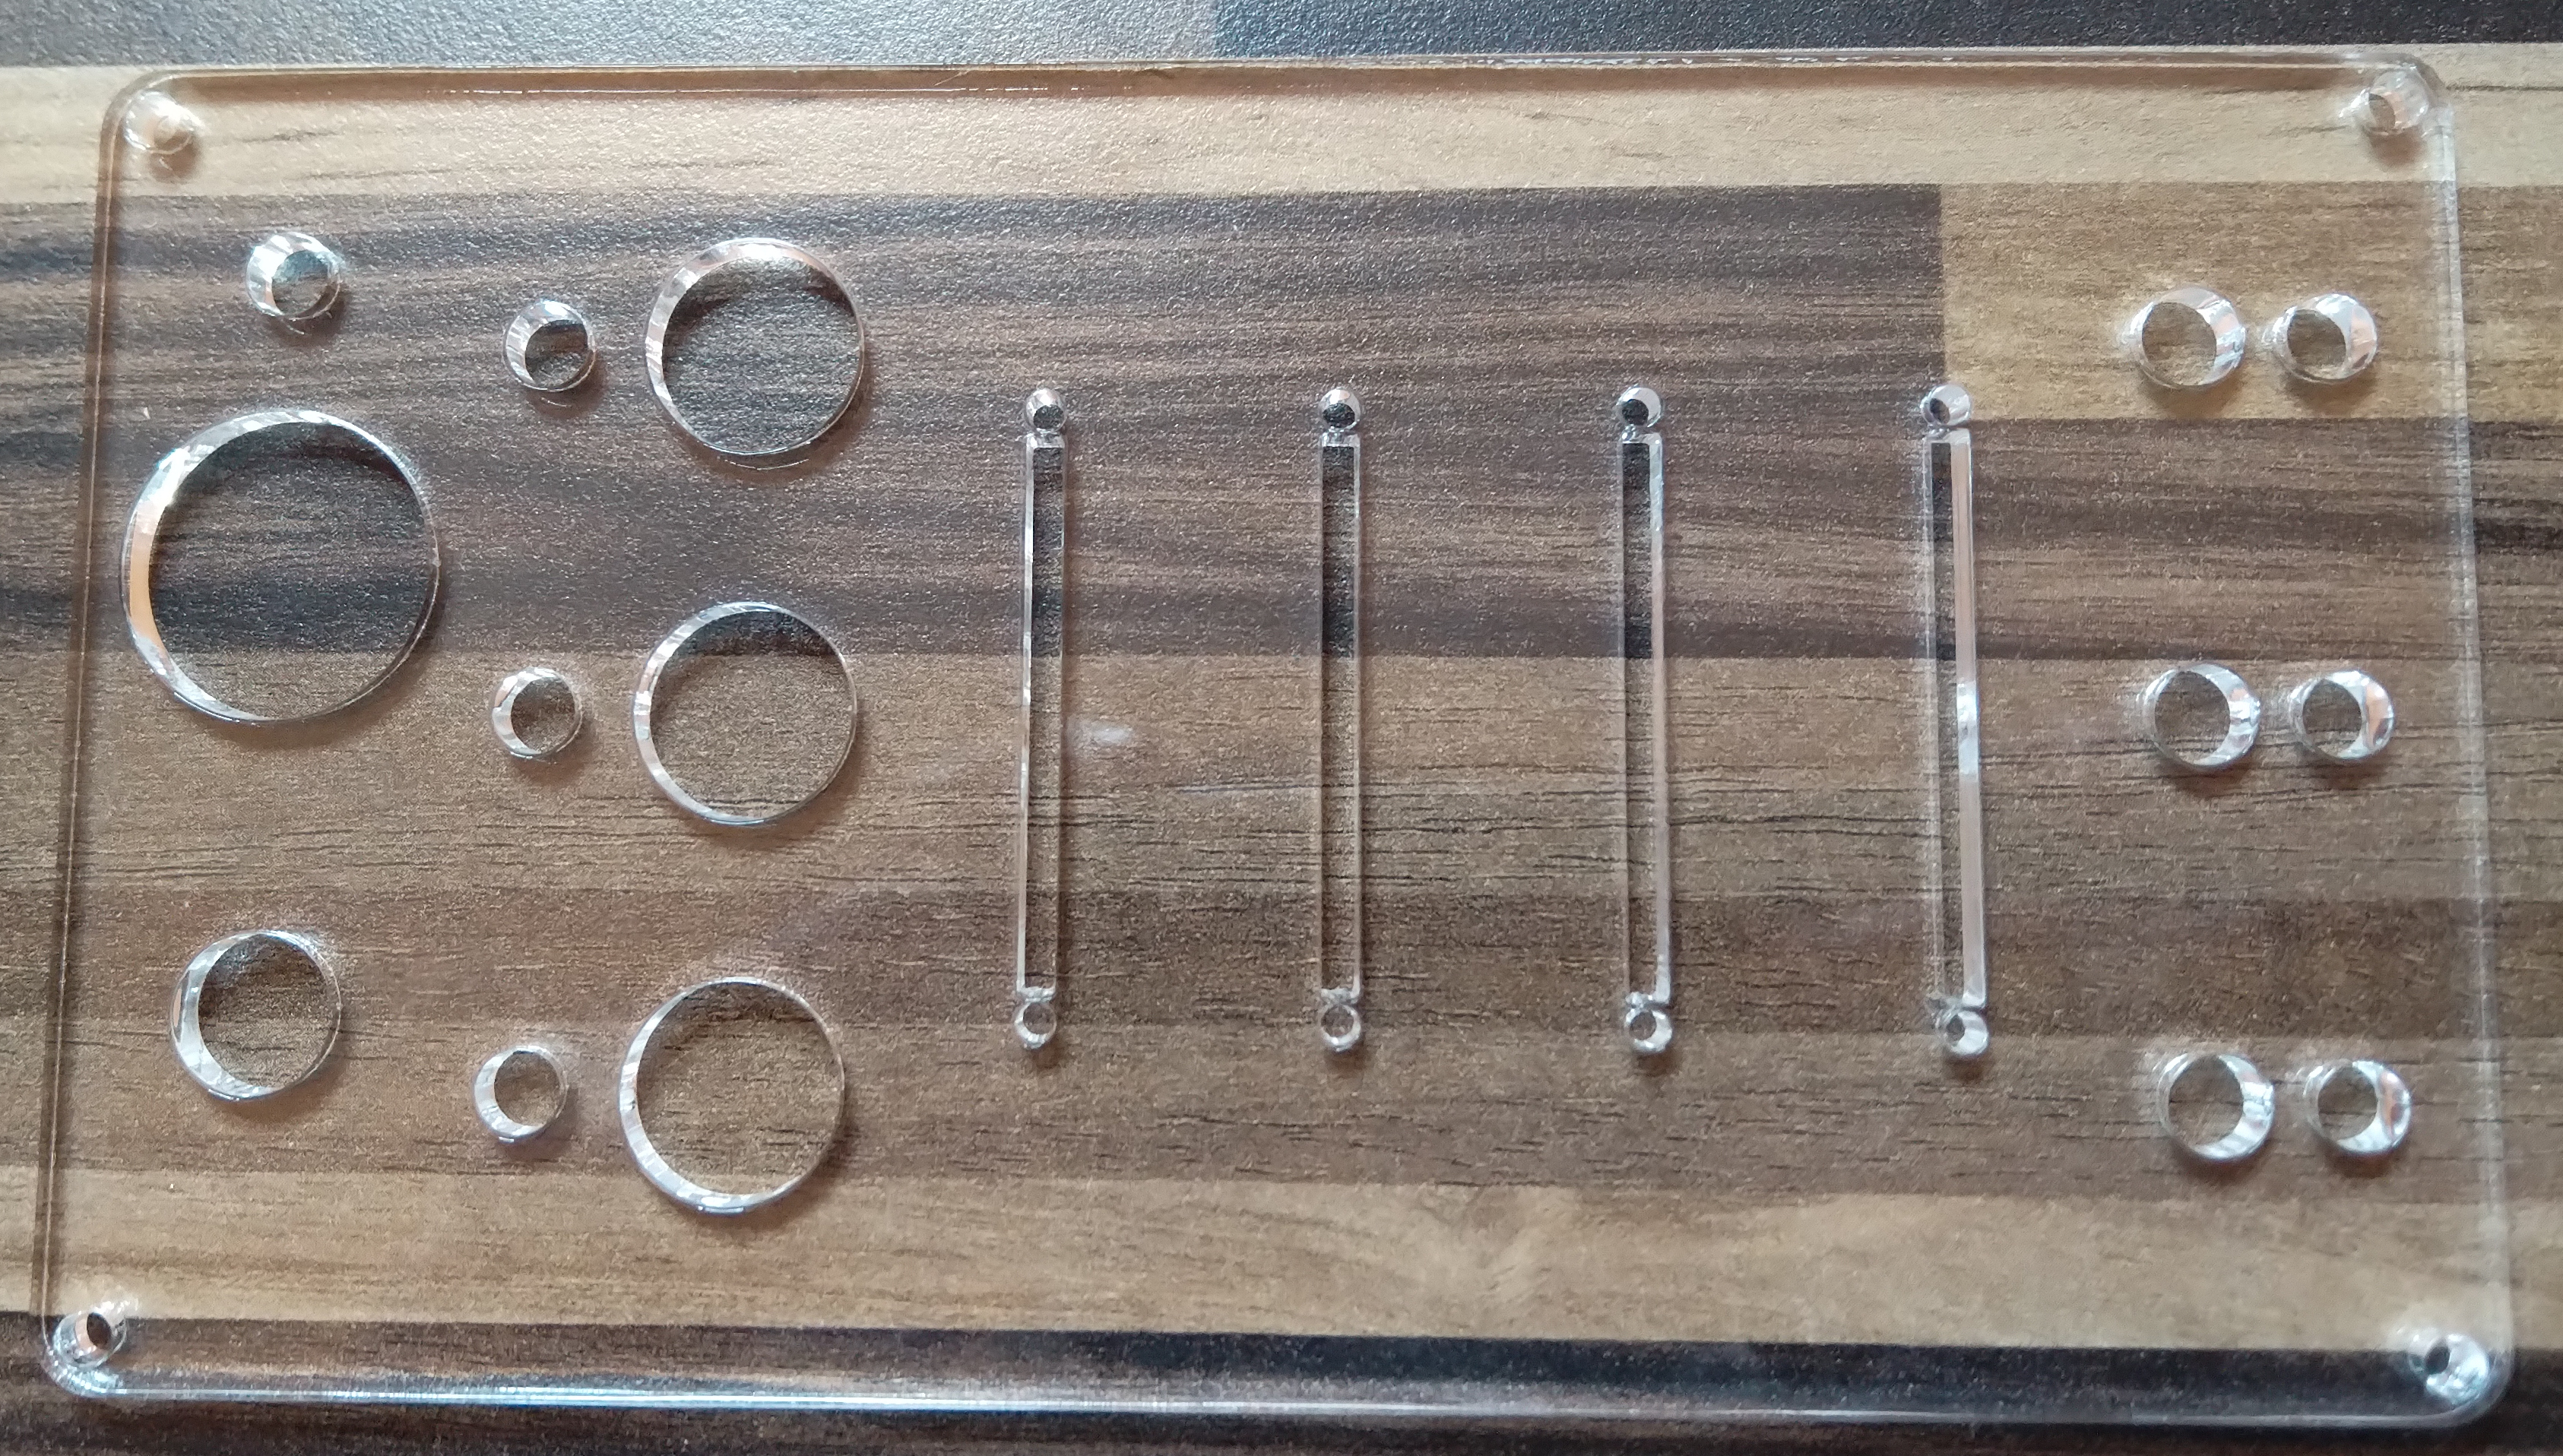 Lasercut frontplate.
Case:
I had to print the case in two parts as my 3D printer would have been too small otherwise. I glued it together with Cyanoacrylate glue, which works surprisingly well. It has four pillars for the M3 inserts, which can be put in with a soldering iron and a steady hand. The opening in the back perfectly fits the micro USB port. the print is quite easy to do for most 3D printers and should be doable with almost all materials. I used colorFabb PLA, grey for the case and pink for the sliders. The sliders have a black stripe in the middle as it looks nice. On the bottom are four 11mm diameter cutouts for 10x4mm rubber feet, this gives the case a better feeling.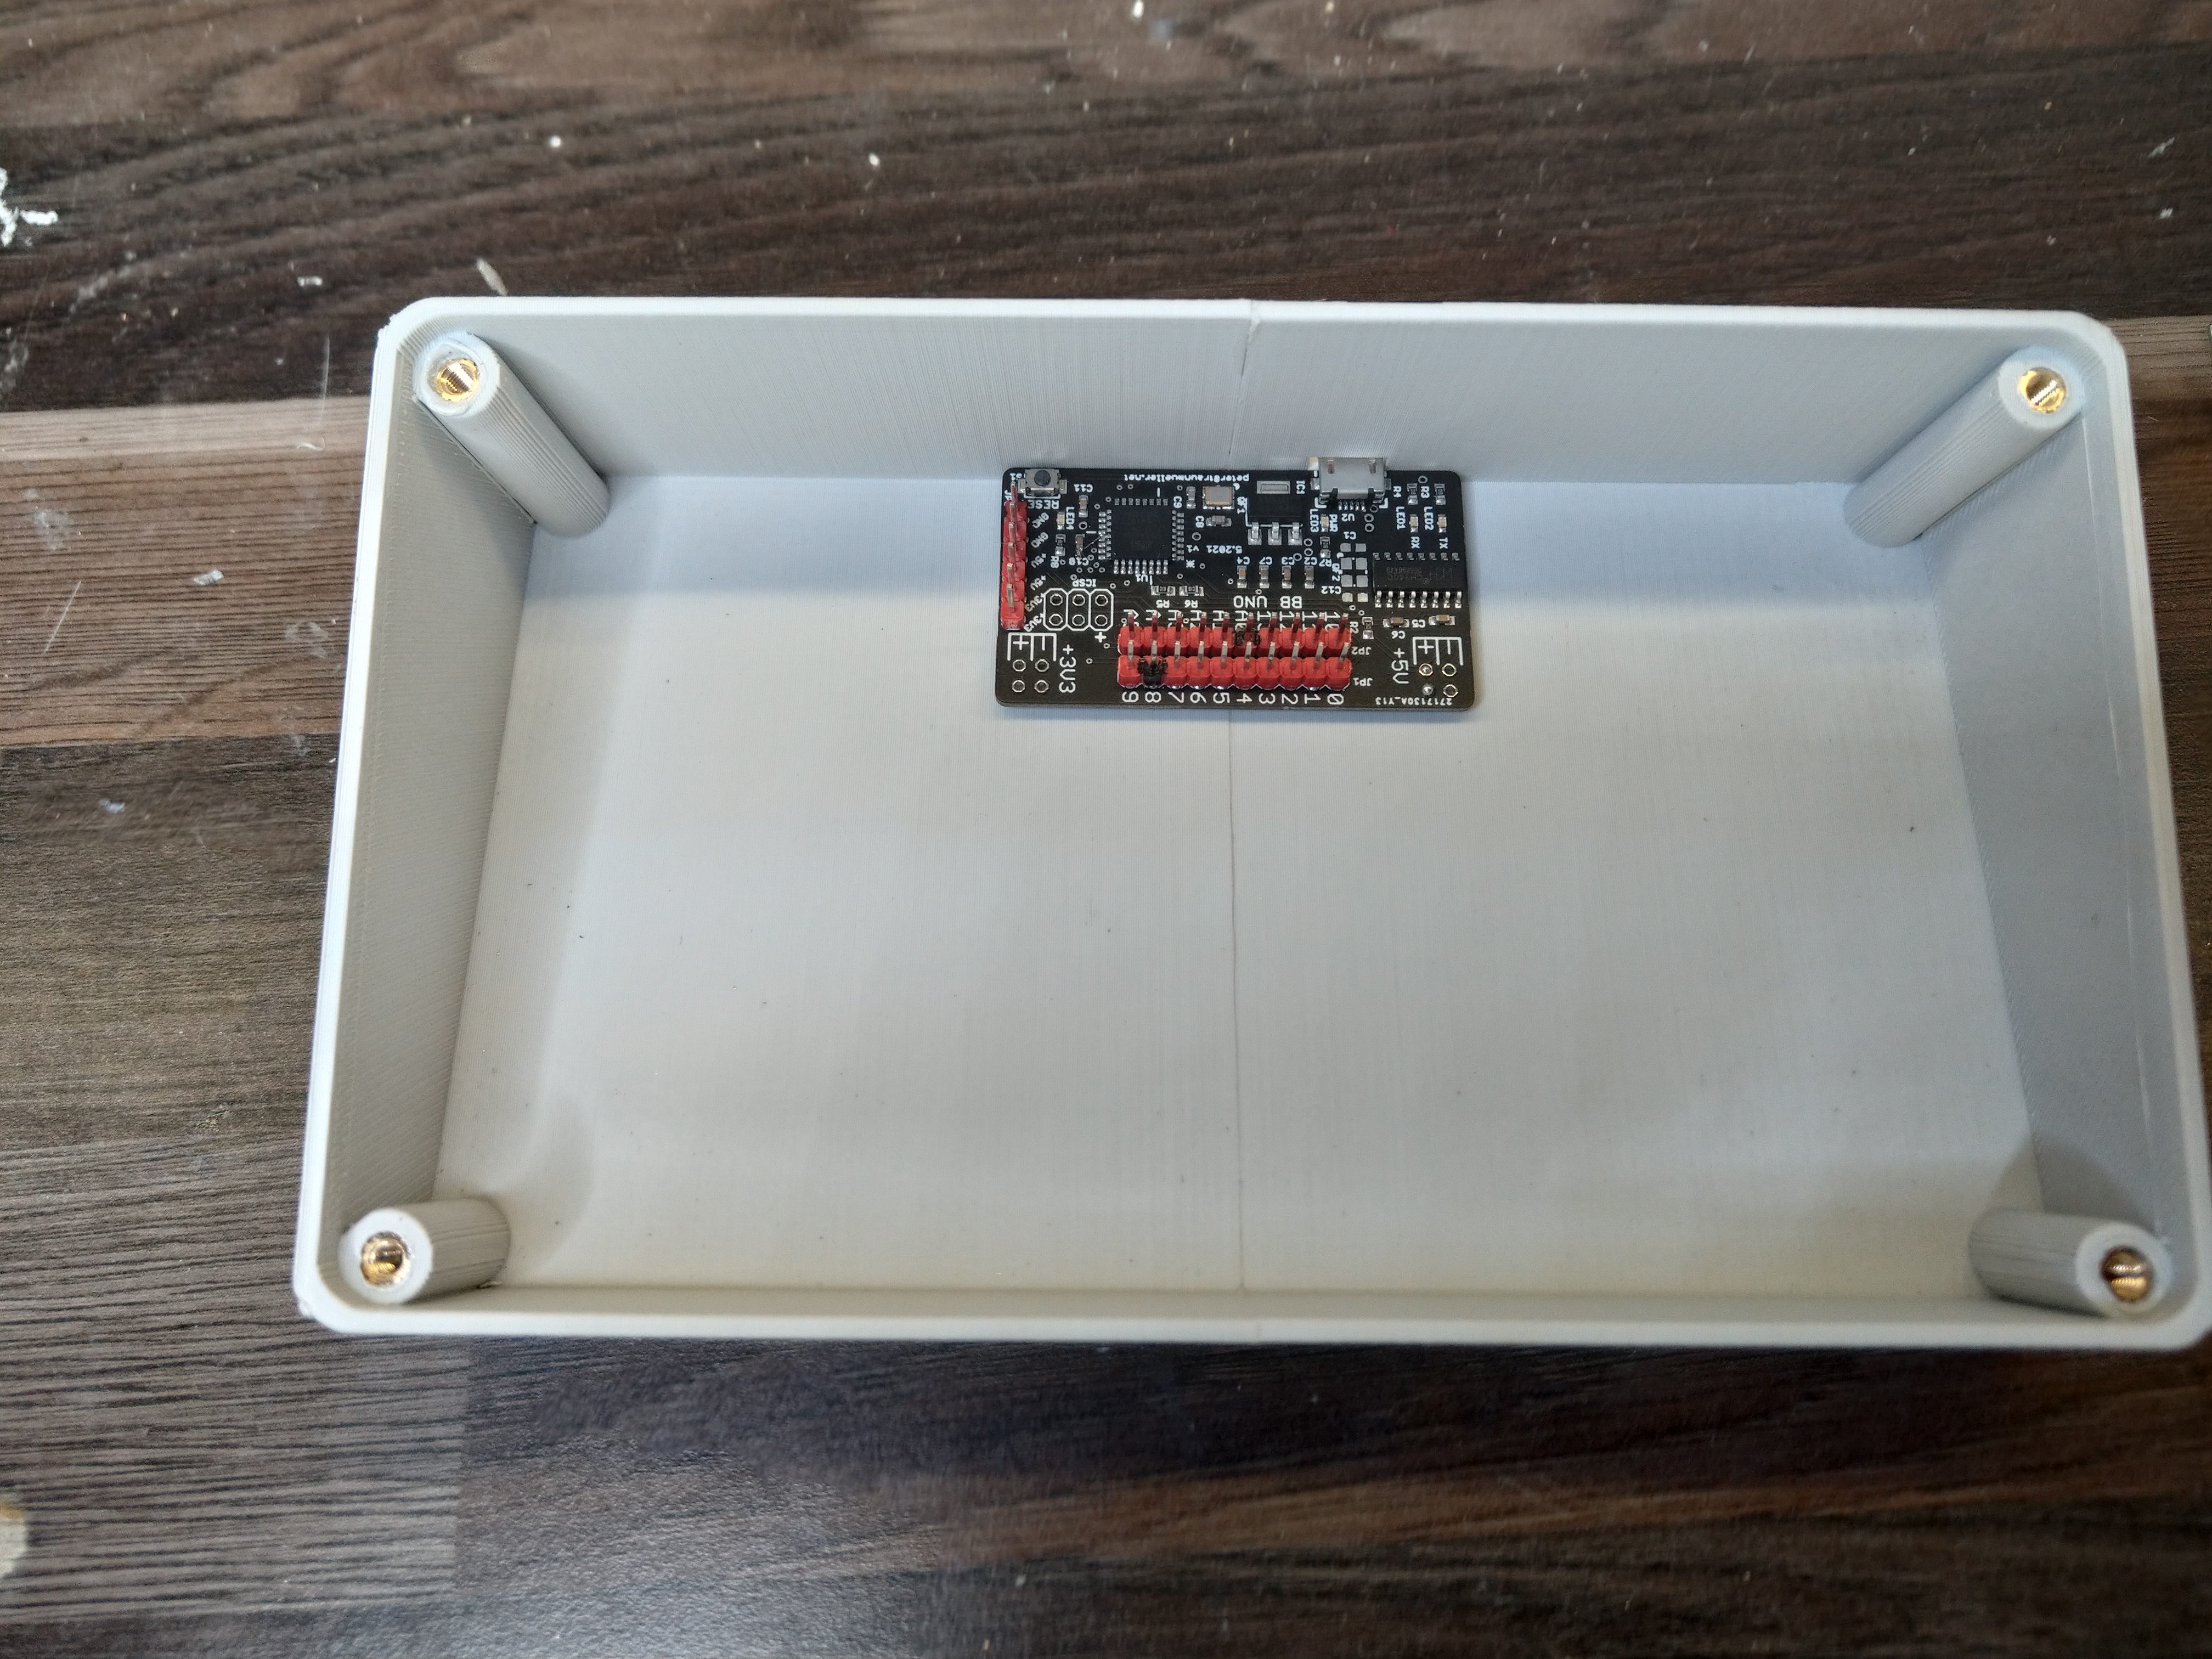 3D printed case with Arduino clone already mounted.
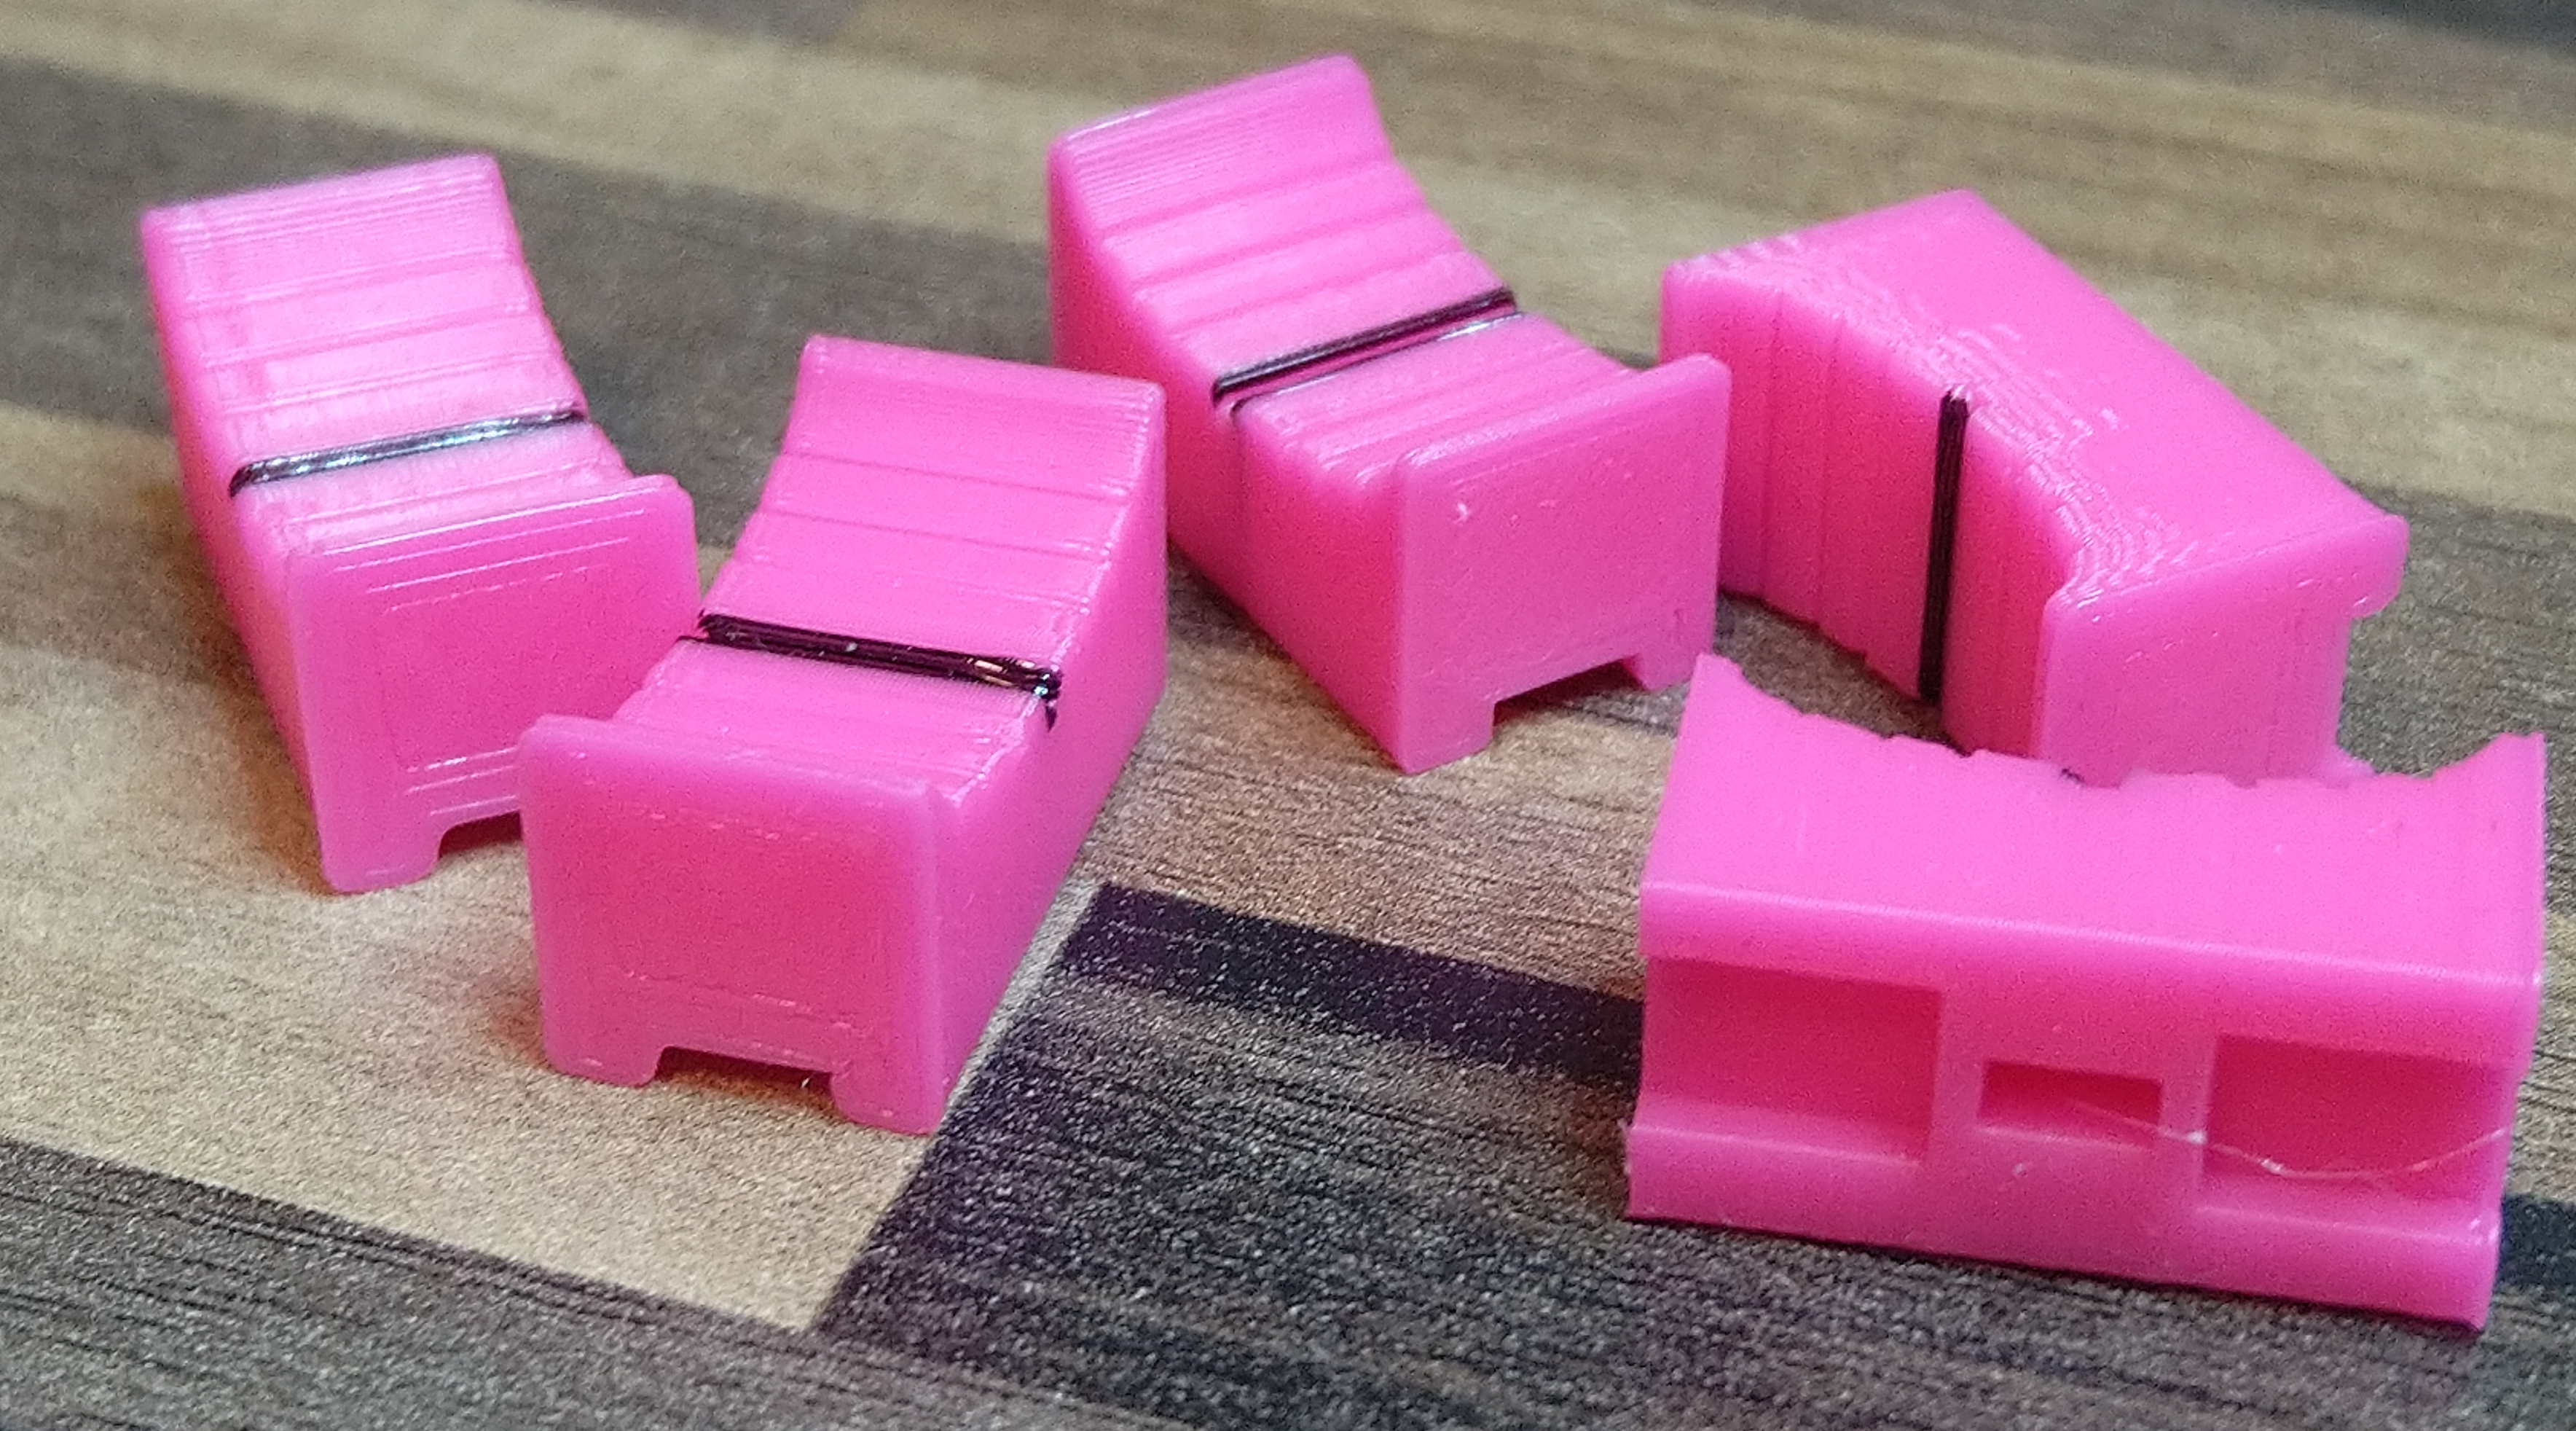 Pink sliders with black stripe.
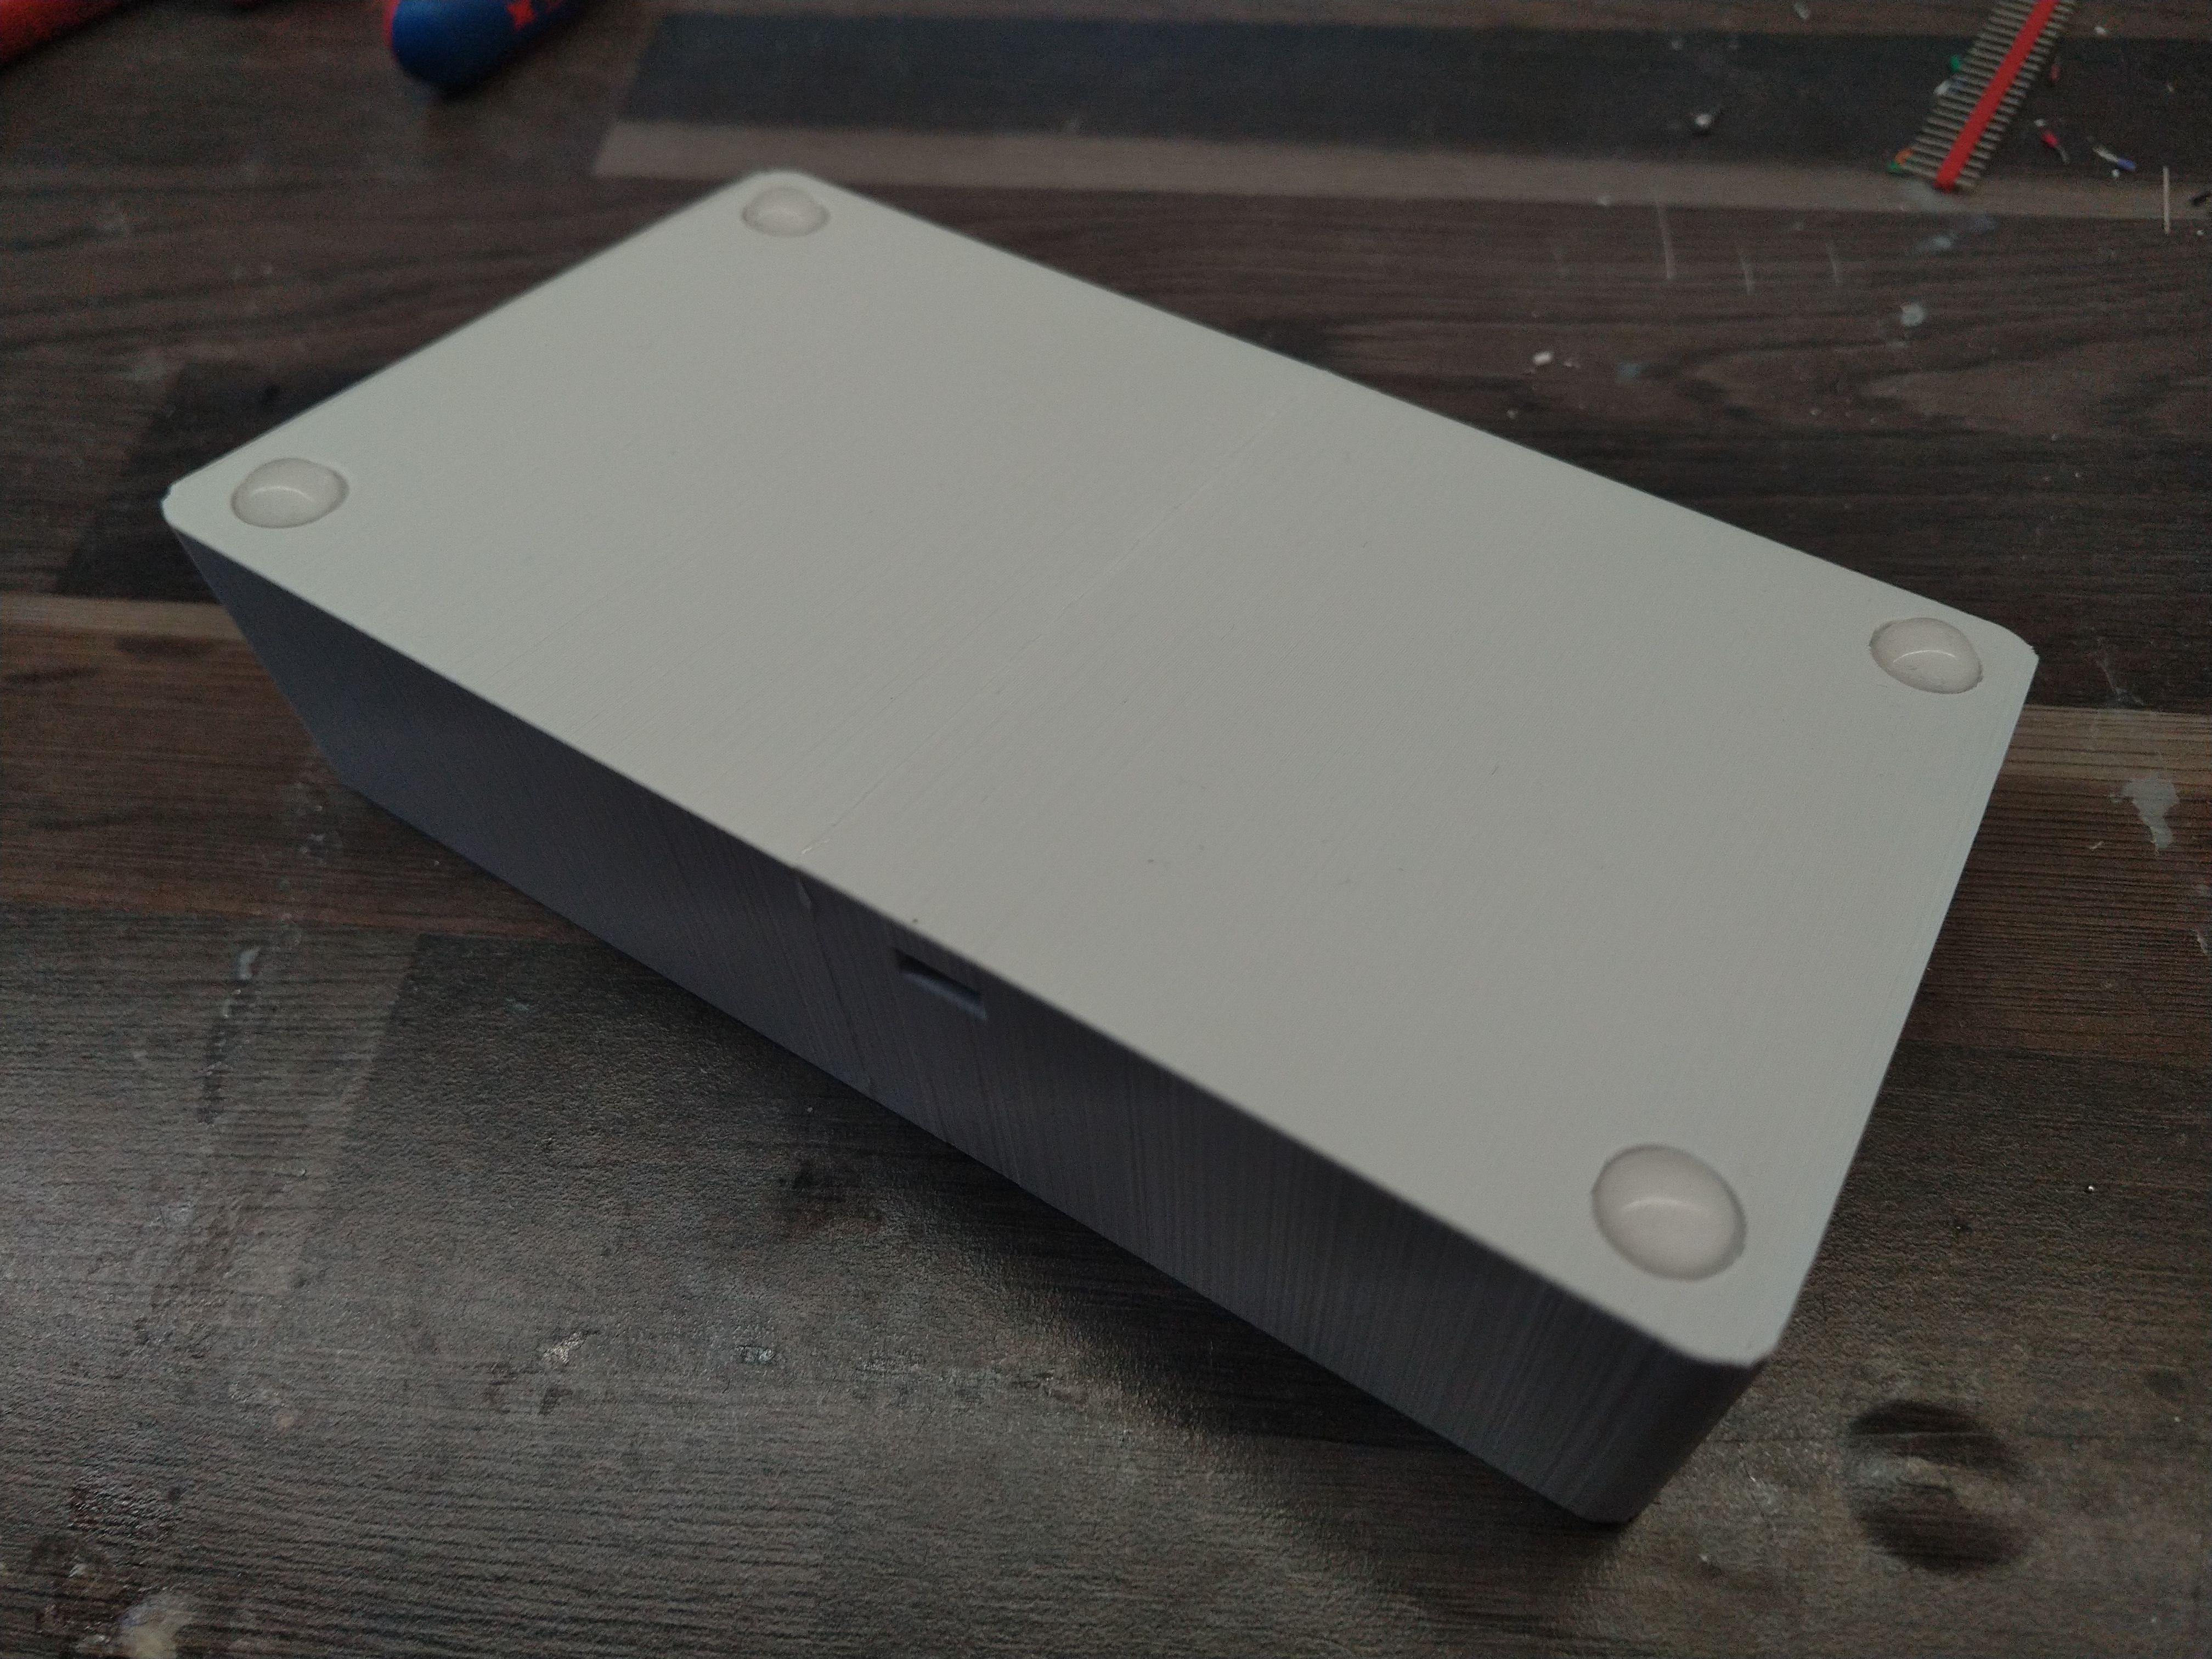 Rubber feet on the bottom of the case.
Schematics:
All of the connections were soldered directly onto the parts. The current limiting resistors are on the back of the LEDs, the blue ones got 220 Ohm due to their higher forward voltage, the others 1k Ohm. There is a ground rails going all around the back and the sliders also have +5V connected on top. The Arduino clone I had lying around was a perfect fit, as it has all IOs in two rows. Note that I had to connect a +5V wire on the back to the output row to be able to wire it up like this.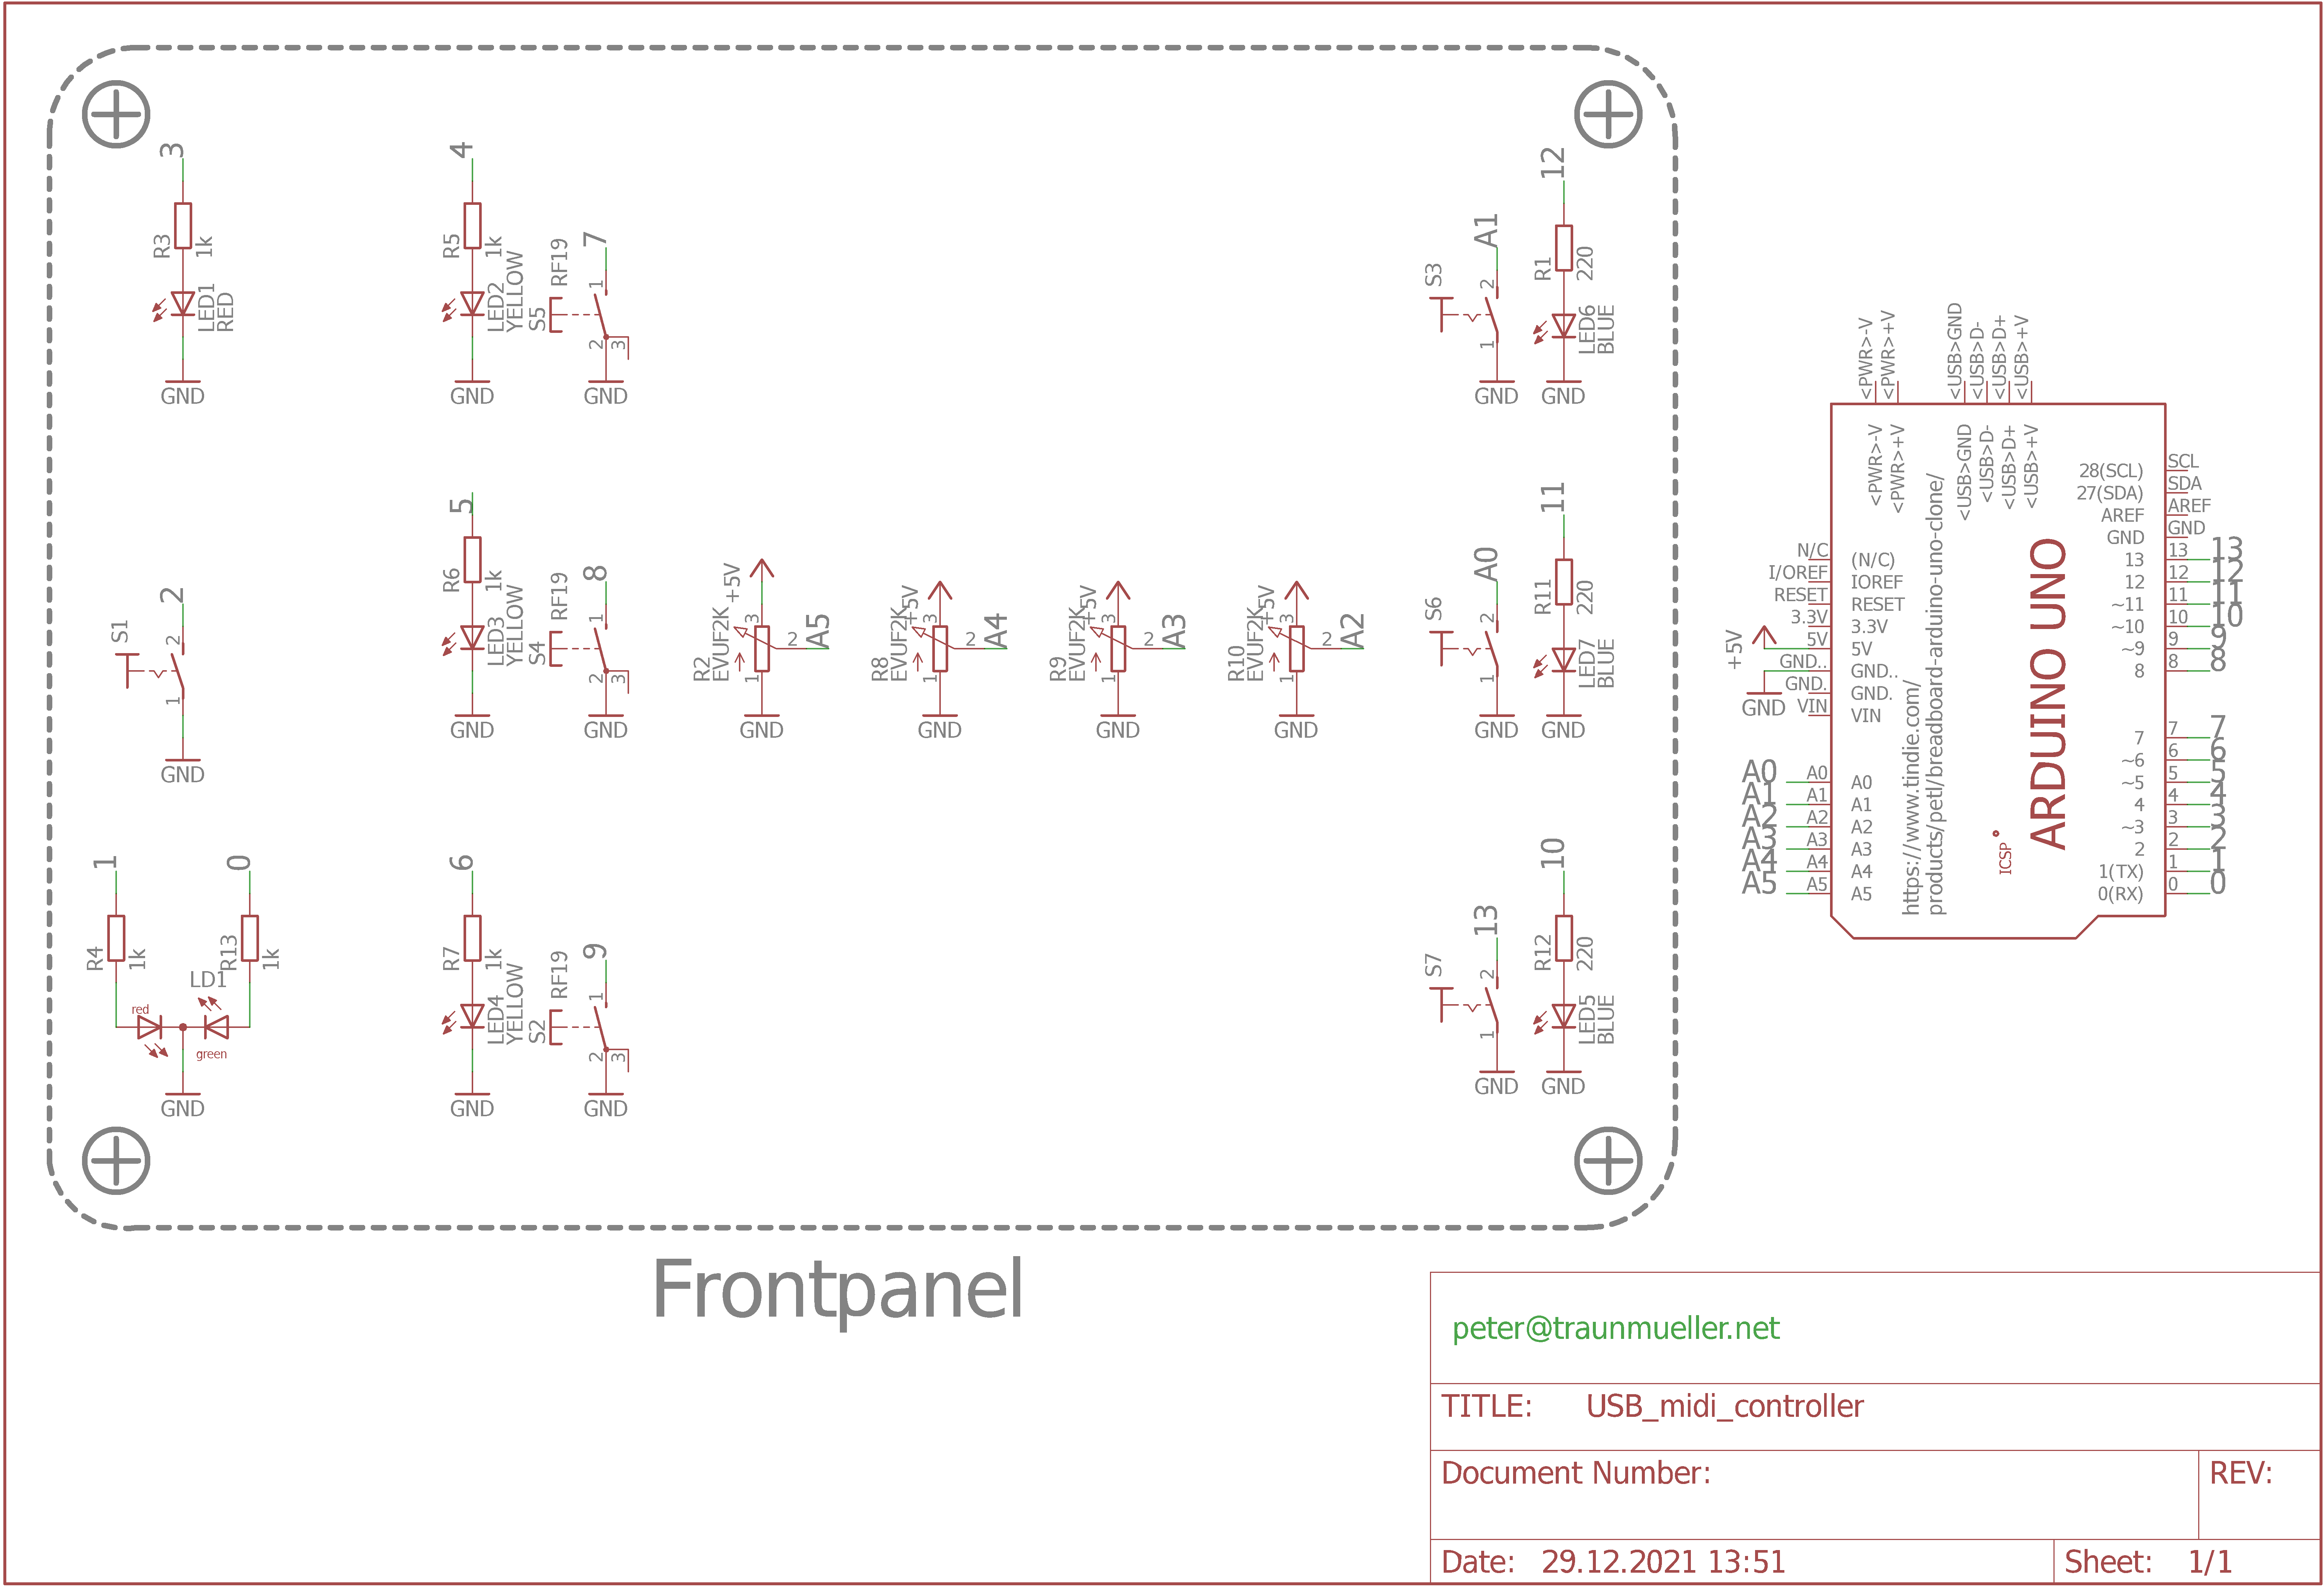 Schematics.
Software
As most Arduino clones don't have a dedicated USB microcontroller, I opted for a virtual Midi port. This means that the CH340 on my clone opens a virtual COM port on my machine and an additional software converts it into a Midi port. The software used for this is called hairless Midi and works like a charm directly out of the box. It has a Windows, Mac and Linux version, so no stress there.Code:
Coding wise this project is as simple as it gets. I wrote it as a long loop so it can be easily modified also by non coding people. Just take a look at the github page and scroll through.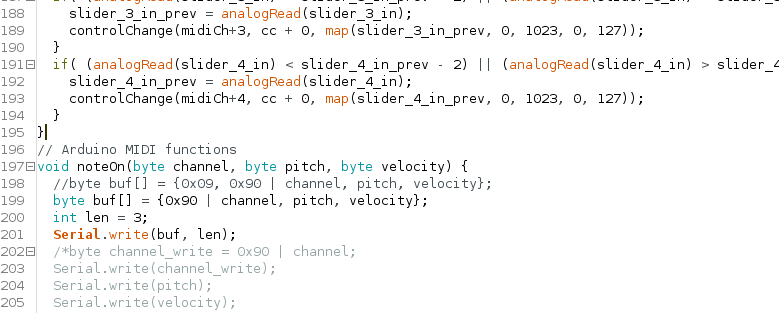 Screenshot of the code.
Mixxx:
Mixxx is quite chill about different midi inputs. I used the learning wizard to choose the controls I wanted to be controlled by the USB midi controller. It took a couple of minutes to have all the buttons, switches and sliders mapped onto the right elements. Afterwards everything worked like a charm and Mixxx saved my settings in a nice file.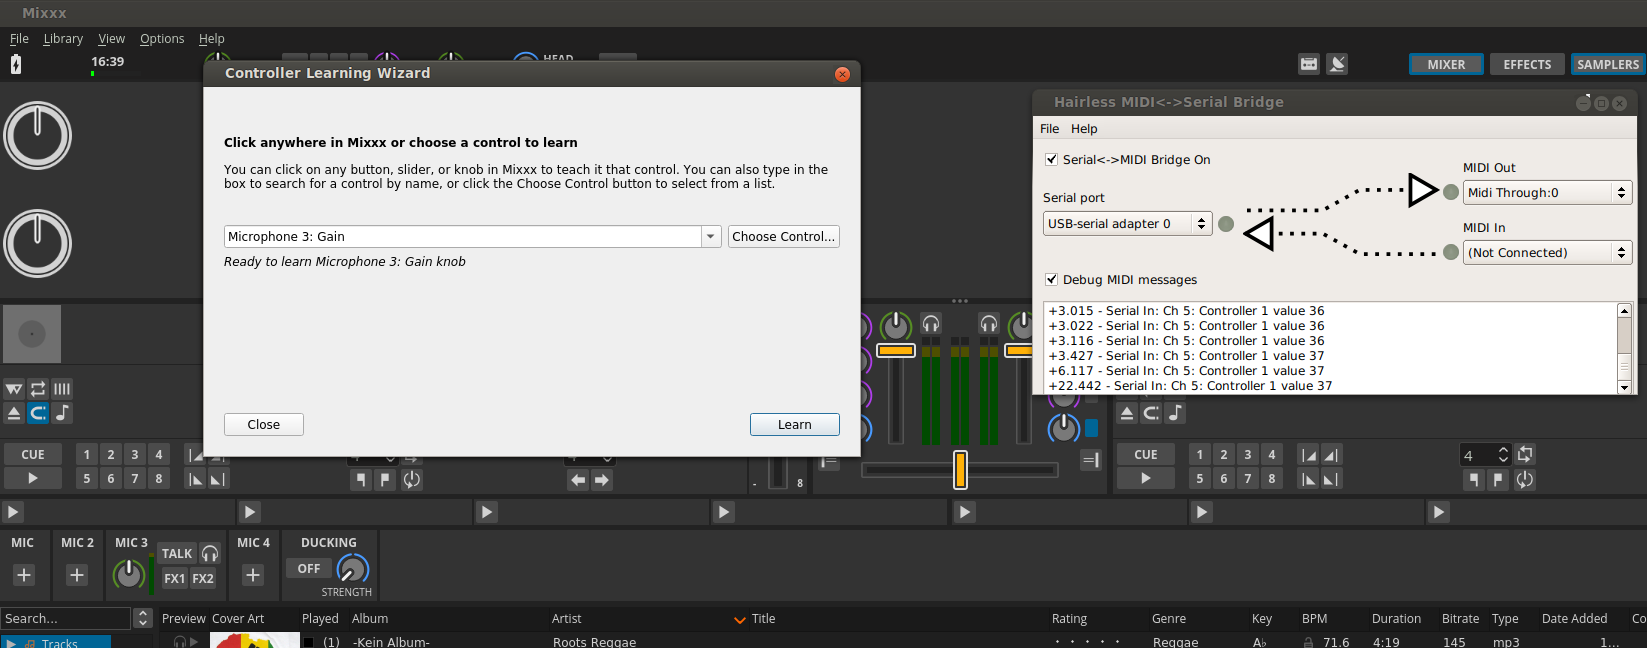 Screenshot with Mixxx and hairless midi.
Conclusion
So that's that, I hope this guide didn't get too long. All the files are on github so you can download them and browse through. Thanks to the original tutorial I was loosely following. If you have any questions or feedback just write a message or leave a comment <3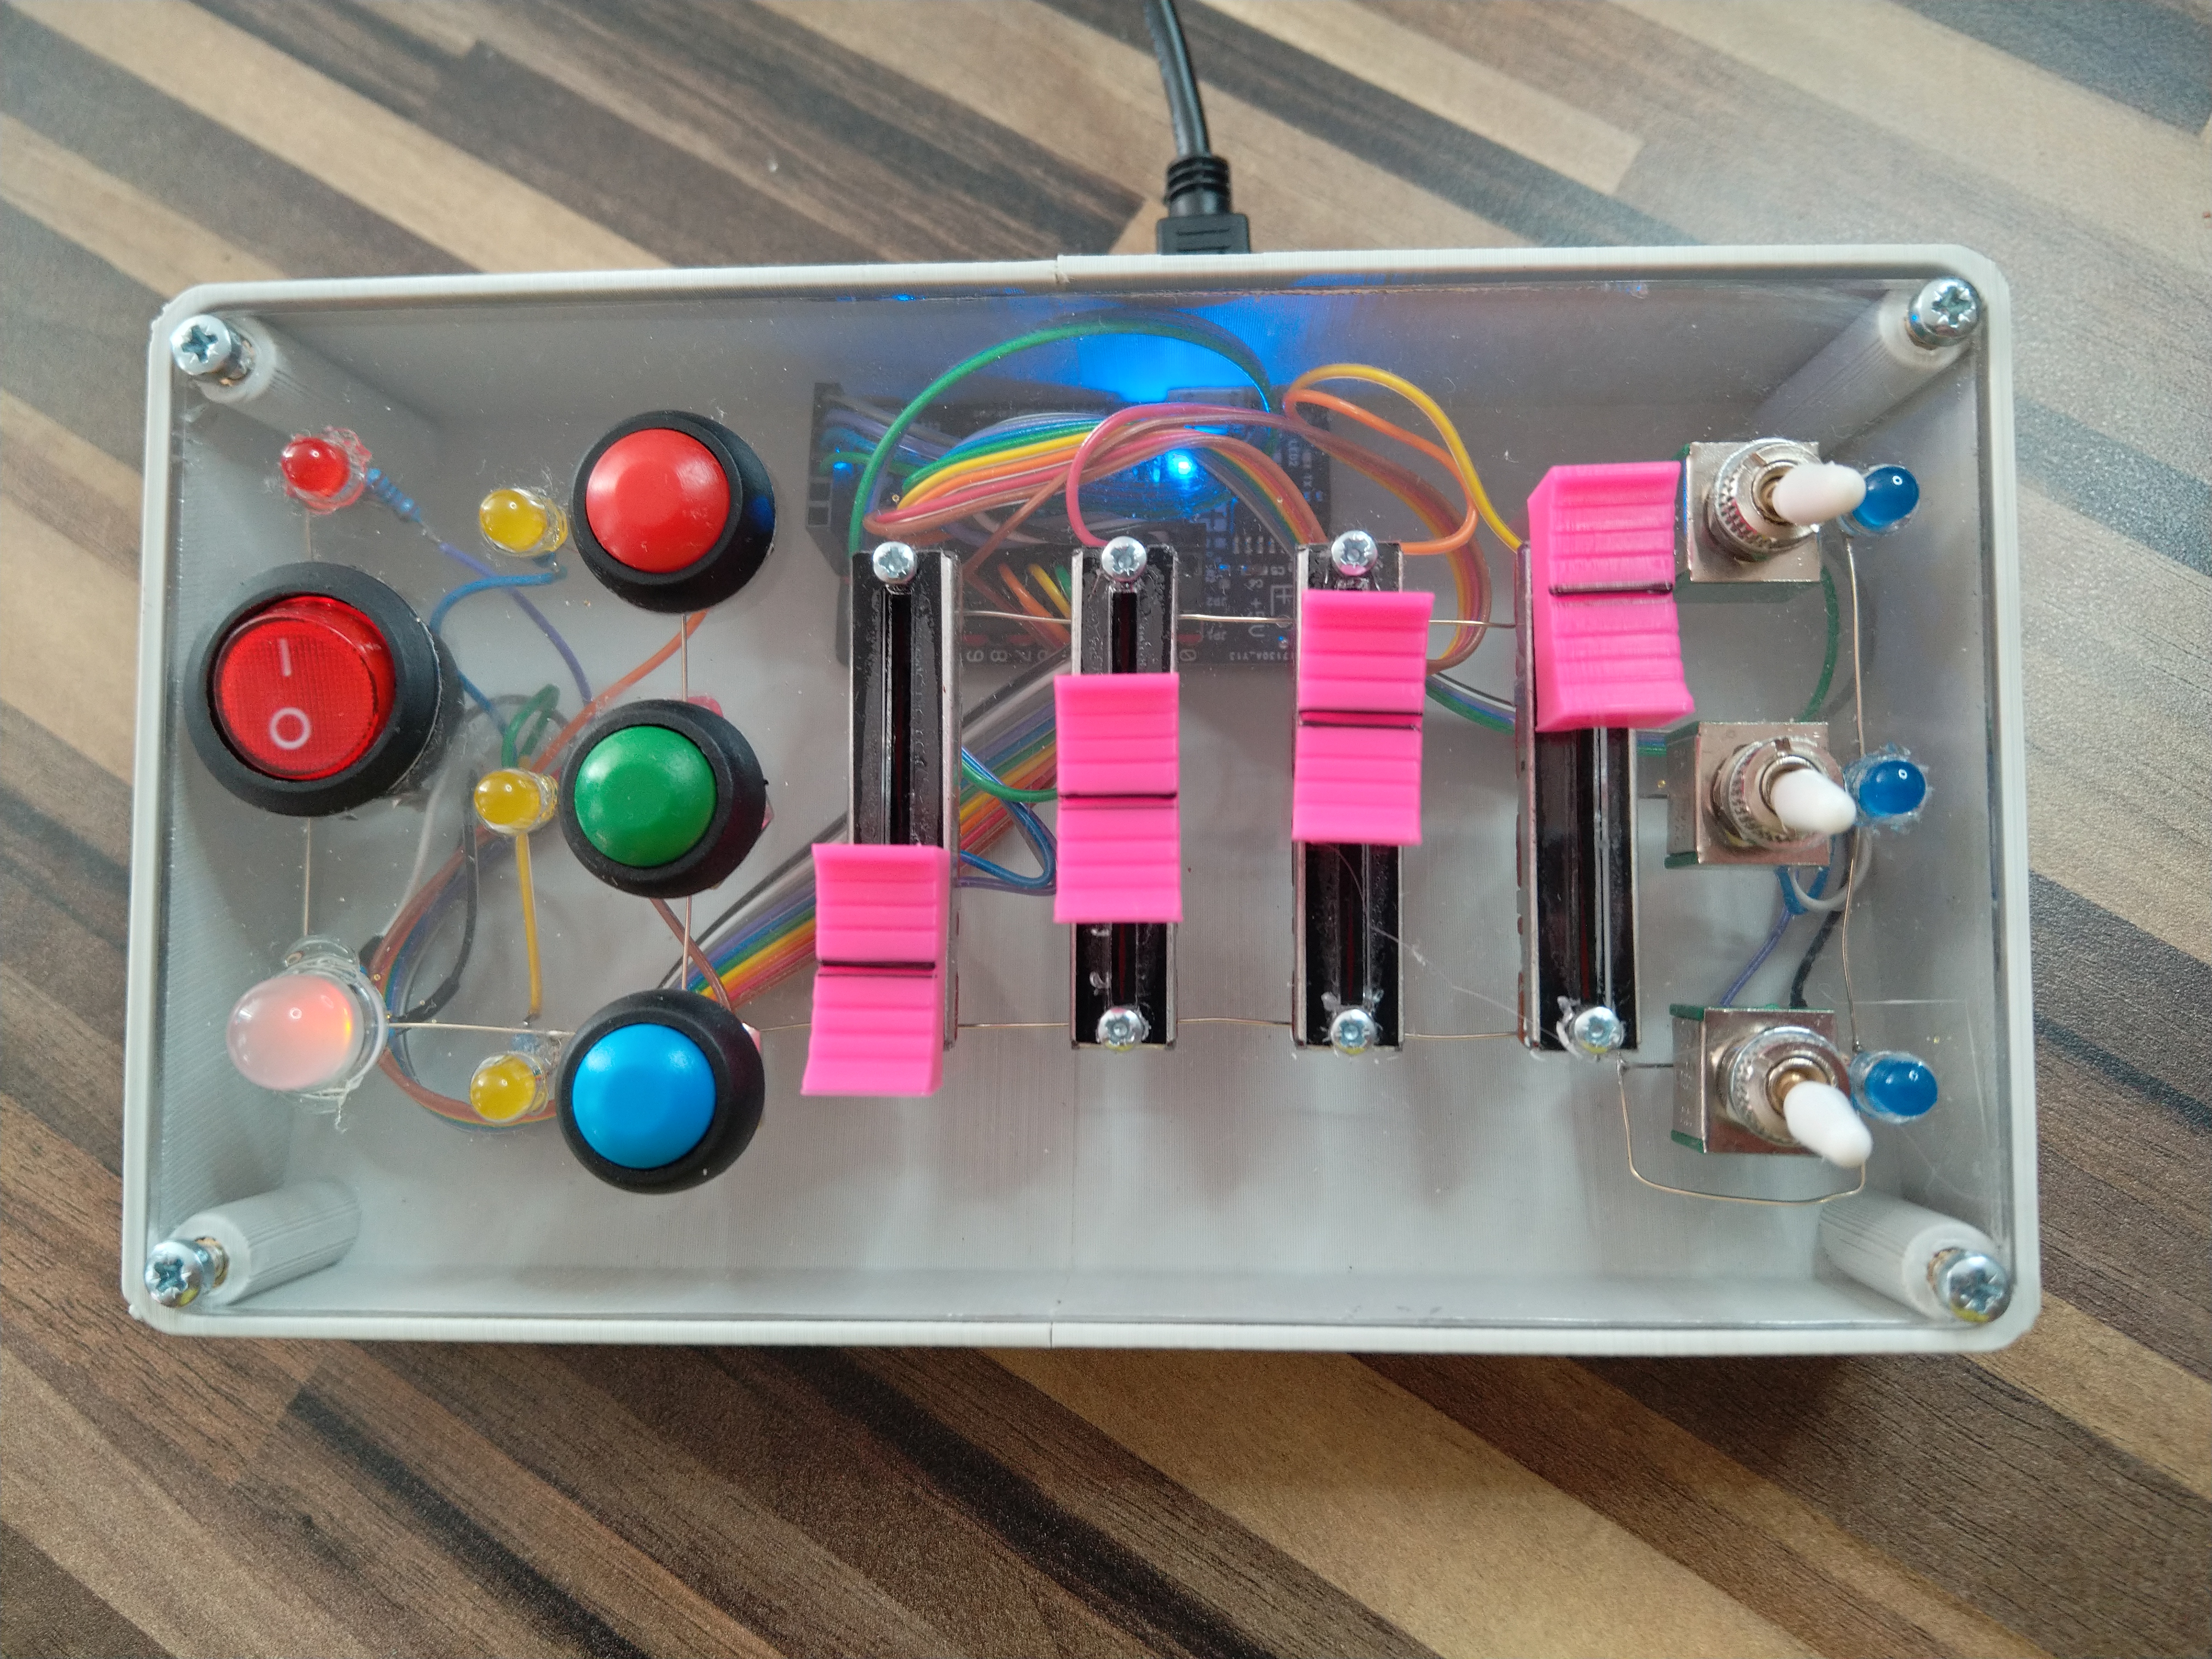 Less glamorous shot of the final product.